
Coconut milk typically comes in a can, which I'm not a fan of, and also contains guar gum, which I am also not a fan of. My food philosophy is pretty much less is more. I like to keep it simple and that begins with consuming as much unprocessed food with as few additives as possible, and leaving out the unnecessaries. Guar gum is a thickener, made from milled guar seeds. Though many may feel that if something they consume comes from nature, it must be fine, or even healthy, I tend to disagree. A lot changes from harvesting to processing. And just think of taking a hike through the woods- would you eat any berry you came across? We all know better than that! Nature is amazing and serves many purposes other than feeding human beings!
ANYWAY, in order to avoid buying canned coconut milk with guar gum, I tried making my own using organic unsweetened dried coconut flakes. Here is the recipe:
COCONUT MILK makes about 18 oz
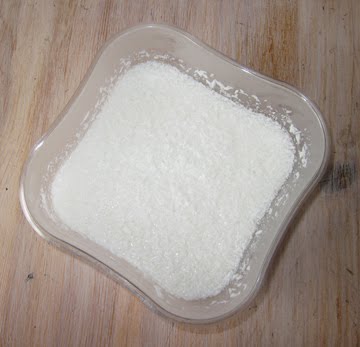
2 cups organic unsweetened dried coconut flakes
2 cup filtered water
2 ice cubes (optional)
Soak the coconut flakes in the water for 2 to 3 hours, minimum, in the refrigerator. If you soak overnight, the flakes will become much softer, making for an easier time pressing. Do not drain or discard water. Pour the coconut and soaking water into the Vitamix and turn on, up to 10 slowly so the flakes don't fly all around the container, and then to high and blend for 2 minutes. Scrape down the container, if necessary, or just pause for a minute or two so the mixture doesn't get too warm, and blend for another 2 minutes (I added a couple of ice cubes to the second blending because it did get warm). Check the consistency and if you would like to run another minute, go right a head.

Strain the milk through a fine mesh strainer, and use a silicone spatula to press the fibers into the mesh to release as much of the milk possible. This may take 10 minutes- less if the coconut has been soaked longer. Refrigerate in a glass jar. Shake before using as coconut milk tends to separate when kept cold, the cream rising to the top. Delicious!

I only strained half of the milk, thinking that I would use the other half with the fiber still in when making my breakfast smoothies or ice-cream. A little extra fiber with breakfast sounds good to me! This morning, when I eagerly took out my unstrained milk, there was an interesting surprise: the milk separated, but what was on top was not just the rich coconut cream, but a thick, fluffy cloud of loveliness! It was literally the consistency of greek yogurt! Of course, a flurry of possibilities raced through my mind for desserts and spreads and toppings. I cannot wait to experiment and share new coconut discoveries!
Back to breakfast. In order to use the unstrained milk, I just filled a bowl with hot tap water and sat the jar in it for 10 minutes or so, shaking it up a couple of times, until it was liquid again and used per usual. The fibers were not even detectable in my breakfast, so I recommend giving it a try!
O yeah, making your own organic coconut milk cost about half as much as buying it!
No comments:
Post a Comment